
Hello! I am here to show you one way you can make the most out of the many pattern designs in the Silhouette Design Store.
I wanted to use one of the patterns in my Silhouette Library to create my own patterned letters for my scrapbook layout.
It's really quite simple to do! The same process works for any pattern you have in your Silhouette library. Here's how:
1) Select your font - I used a fairly simple font LW Friendly. Type your title with the Font Tool.


 OPTION 2


I wanted to use one of the patterns in my Silhouette Library to create my own patterned letters for my scrapbook layout.
It's really quite simple to do! The same process works for any pattern you have in your Silhouette library. Here's how:
1) Select your font - I used a fairly simple font LW Friendly. Type your title with the Font Tool.
2) Select your pattern. Any pattern will work. I will show you two ways to use the same pattern and achieve a slightly different look.
3) I found that there are two ways to fill in your text. Each way will vary the size of your pattern.
OPTION 1
With your title selected, go to your library and click once on the pattern of your choice. On the right side of your screen, you will see how that pattern will look filled in to scale inside the text.
OPTION 2
With your title selected, choose your pattern from your library. It will open up in front of your title. If you right click on the pattern - chose SEND TO BACK.
Select the title you created and select the pattern at the same time by clicking and holding the shift key. Align them together so that the pattern completely covers the text.
In the Modify window, (with the pattern and text both selected) choose "CROP". You will notice that the pattern is now in the inside of the text.
The difference here is that the pattern in the text is larger and not to scale as the pattern was designed. here is a comparison of the two options with the cut lines showing.
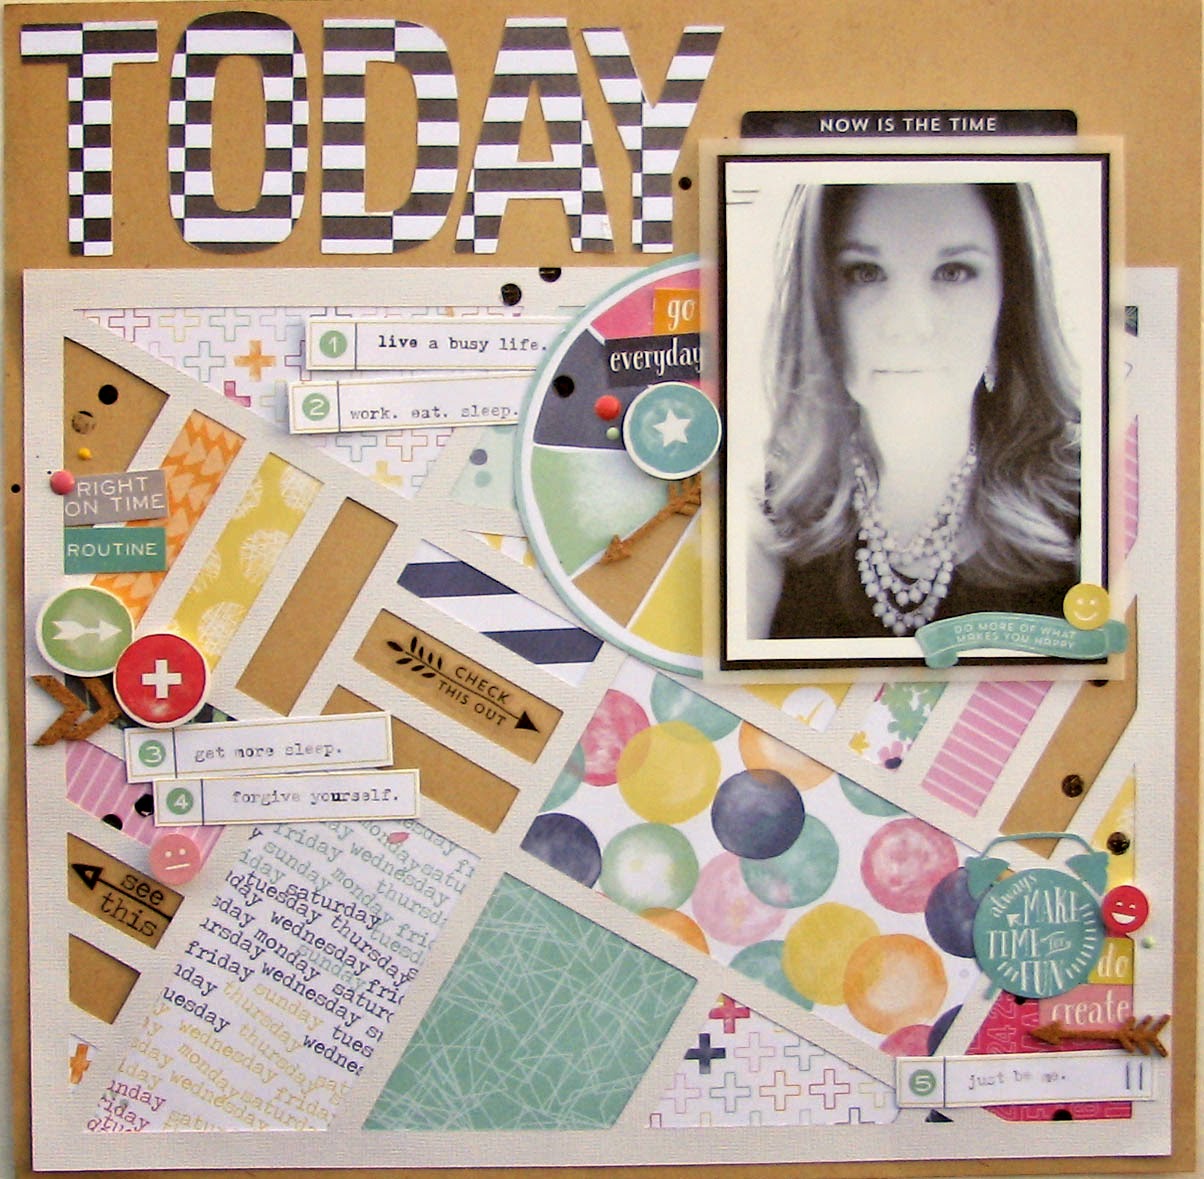
I liked the way the larger pattern worked for my title, so I used that to create my page.
I used a simple Graphic Pattern 1 to cut a background for my page and then added paper behind the design.
I hope you enjoyed this tutorial and see how easy it is to use those patterns to create unique projects!
Designs used:
No comments:
Post a Comment