Showing posts with label Tutorial. Show all posts

Wednesday, February 03, 2016

Jillibean Soup - Wood Plank projects + project sheet!


Hello ! I have a really fun and easy home décor project to share with you today! I created this with a wax paper transfer technique I have seen on Pinterest and used some Jillibean Soup wood planks and products !


There is a free printable instruction sheet on the Jillibean Soup blog HERE. I did two different takes on this tutorial. This one here is just straight up black ink on the wood surface:


It is a nice rustic look on the wood surface - and really SO easy to do!

For this other wood plank, I added some Witty White Happy Hues (Jillibean Soup) paint, let it dry and then printed my design with colour ink!


I really love how this one turned out! I need to make one for my daughter's room like this, I think :)


Plus, this was from a FREE printable that Jillibean Soup had in November 2015 that you can snag to use on this project.


Don't you love how the colour one came out!! I do :)


Anyway, I seriously hope you will try this - here is a link to the free project sheet . There are some step out photos on the Jillibean Soup blog too, if that helps! Enjoy!


Monday, November 30, 2015

Jillibean Soup - Advent Calendar! Box Style + freebie cut file


Hello hello! December is right around the corner and I am excited to share this fun little Advent Calendar that I made for Jillibean Soup!

Who doesn't love little pretty packages all tied up with string.. these are a few of my favorite things... HA! I am a Sound of Music nerd :)


Anyway, the concept is quite simple really. Lots of pretty little boxes in different shapes and designs perfect to hide little toys/gifts/treats in! I simply cut each of the boxes on my digital cutting machine, varying the sizes and changing up the dimensions for fun. I added lots of great Jillibean Soup embellishments and that made them all come together fairly simply.


To check out the tutorial, head over to the Jillibean Soup blog ! To download the FREE cut file I used for these boxes, just click HERE

If you make these boxes, I would love to see! Just tag me on Instagram (@nicolenowosad) or on Facebook too :)

Wednesday, March 04, 2015

Silhouette Tutorial - Patterned Paper - LUCKY

I had a fun tutorial up on the Silhouette blog yesterday, using this week's free design.


I used part of this week's free design to create this "patterned paper" with my Silhouette sketch pens and then added lots of watercolors too :)


I added some white circles to the to of my page and some diecut shamrocks, which are also part of the free design this week.

 
Stop by the Silhouette blog for lots of great projects and to see this EASY tutorial too!


Tuesday, February 24, 2015

Another Silhouette Tutorial !

Good morning!! First off, just want to say a big thank you for those that leave me comments - good or bad, I appreciate them! It keeps me blogging :)

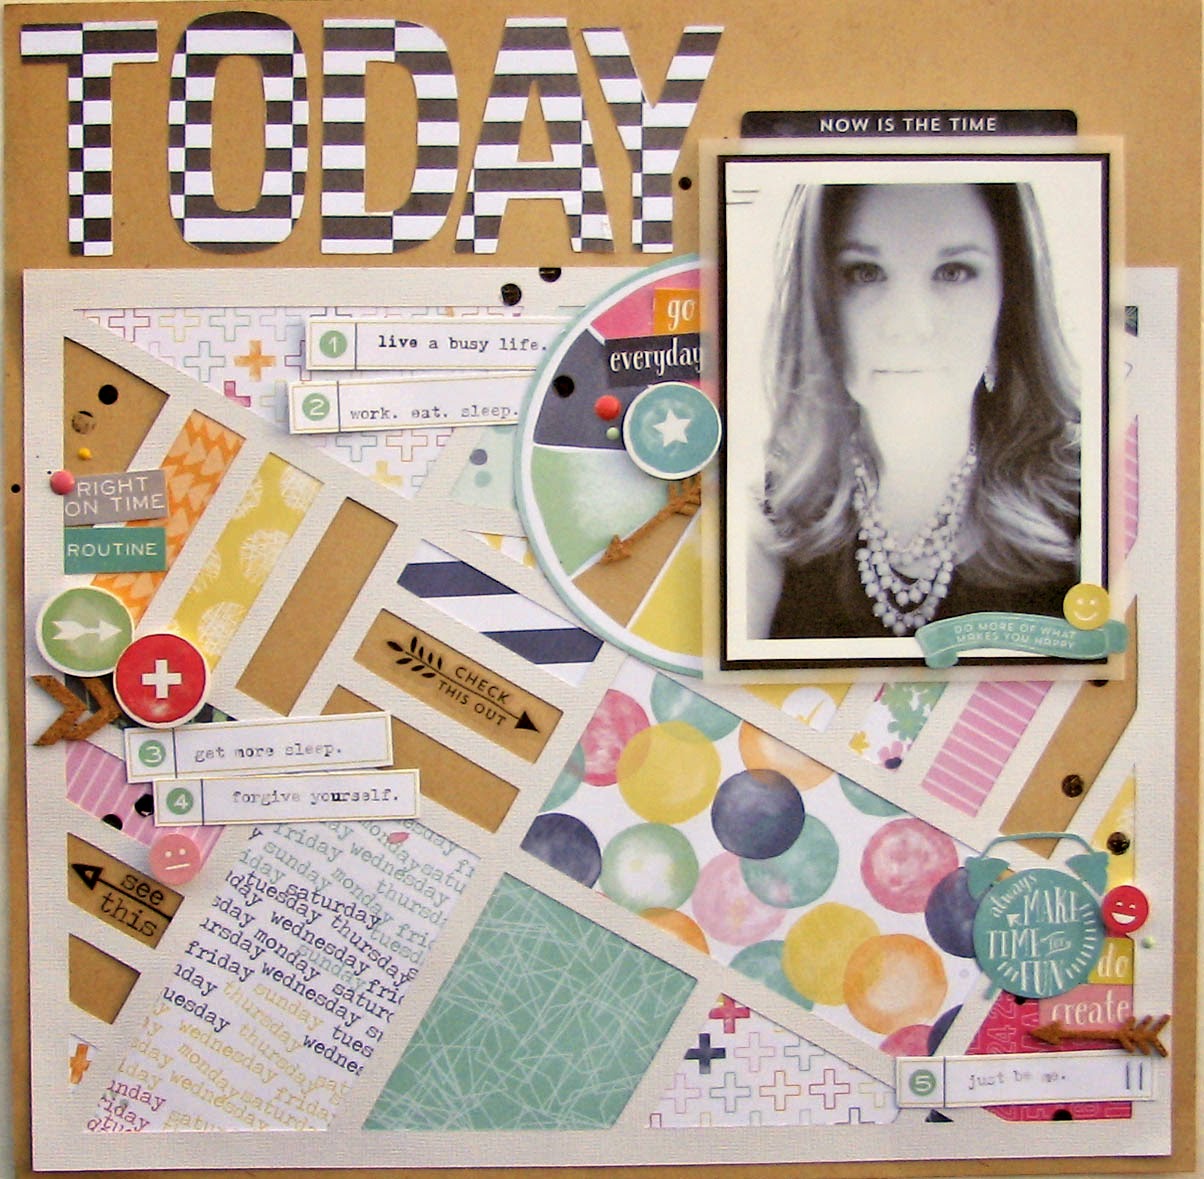
I am here today to share a page I made using my Silhouette and a tutorial I did for the Silhouette America blog last week.

I posted a page last month using an intricate design and it was filled with lots of little bits of patterned paper - got a few questions on it, so thought Iwould do a quick tutorial for the blog on how to do that quite easily with your Silhouette!

Here is my page:


It may look complicated, but it really isn't. I hope you check out the tutorial over on the blog HERE (all the tutorials are listed here)


The tutorial is on a simple and repetitive design. One where you can see the repetitive pattern. The same process would apploy for busier patterns but just a little more complicated :)

I added in some glittered double sided adhesive to some of the joining parts, and atop some Silhouette gold foil for my title.


Thanks again for stopping by the blog - I appreciate it :)

Thursday, January 29, 2015

Amazing Friend - Silhouette

Last week, I had a quick tutorial over on the Silhouette America blog - on how to make your own project page cards for pocket scrapbooking or whatever really! I don't do PL spreads so I used my cards on a scrapbook page.


I started with a couple basic designs from the Silhouette store and then created a quick card using my shape tool. You can virtually use any shape and create the card by adding a circle, square or rectangle around it and weld! I love how the title looks cut into the card shape.


I stepped out of my comfort zone a little and added some diecut flowers from Silhouette design shapes too. I don't often use flowers in this way, but they really are just so easy to cut out and piece together with some dimensional adhesive! Just add an enamel dot or brad to the center and you are good to go!

If you want to check out the tutorial - just head over to the Silhouette blog HERE

Wednesday, January 28, 2015

Jillibean Soup - Receipt Holder how to!

Good morning!!! I am excited to share with you a fun project idea I made for the Jillibean Soup booth at CHA. It uses one of the new and fun Mix the Media surfaces, a little paper and some Mix the Media Ephemera Packs!


I won't take credit for this idea - it came from the Big Bean herself, Jill Yegerlehner, owner of Jillibean Soup. She provided the idea of a LOVE sign, and I went from there to this:


Creating this project is beyond simple.

1) You need a Jillibean Soup large receipt holder. CHECK.

2) Diecut or freehand some large letters to spell LOVE. I used Soup Staples III paper. CHECK.

3) Print off 4 lovey dovey photos of you and your significant other or really, anyone :) CHECK.

4) Layer like a mad person! I added doilies, tags and some paper behind each of my photos and then vellum stickers, buttons, etc. to finish off each square area.

5) Clip onto the receipt holder.


The best part of this project is that it is so easy to do and any subject would work. An added bonus is that you can easily change it up over time !! Just change the word or even just the photos! Love projects like that.

Happy Crafting!


Thursday, January 15, 2015

Silhouette Tutorial - How to use patterns !

Hello! I am here to show you one way you can make the most out of the many pattern designs in the Silhouette Design Store.

I wanted to use one of the patterns in my Silhouette Library to create my own patterned letters for my scrapbook layout.


It's really quite simple to do! The same process works for any pattern you have in your Silhouette library. Here's how:

1) Select your font - I used a fairly simple font LW Friendly. Type your title with the Font Tool.


2) Select your pattern. Any pattern will work. I will show you two ways to use the same pattern and achieve a slightly different look.


3) I found that there are two ways to fill in your text. Each way will vary the size of your pattern.

OPTION 1

With your title selected, go to your library and click once on the pattern of your choice. On the right side of your screen, you will see how that pattern will look filled in to scale inside the text.

OPTION 2
With your title selected, choose your pattern from your library. It will open up in front of your title. If you right click on the pattern - chose SEND TO BACK. 


Select the title you created and select the pattern at the same time by clicking and holding the shift key. Align them together so that the pattern completely covers the text.


In the Modify window, (with the pattern and text both selected) choose "CROP". You will notice that the pattern is now in the inside of the text.


The difference here is that the pattern in the text is larger and not to scale as the pattern was designed. here is a comparison of the two options with the cut lines showing.


I liked the way the larger pattern worked for my title, so I used that to create my page.


I used a simple Graphic Pattern 1 to cut a background for my page and then added paper behind the design.


I hope you enjoyed this tutorial and see how easy it is to use those patterns to create unique projects!

Designs used:


Monday, December 01, 2014

Silhouette Favorite Things Blog Hop!

Good Morning! Today, the Design Team for Silhouette is having a blog hop of our favorite Silhouette things! 

I am very excited to be on the blog today to share with you a project made with one of my favorite Silhouette products - Printable Gold Foil! It is so easy to use  and I just love the hint of shine and glam it brings to projects.

Today, I am going to share with you a super easy way you can add just a touch of sparkle and shine very easily using the Printable Gold or Silver Foil.

Here is the project I created.


You can see that I added god foil to my homemade embellishment circles and title. Here is how you do it in just a few quick steps:

1) Select and size the design you want to add a little glam to. Cut your design out of your favorite paper and set aside.


2) Keeping the design and size the SAME - use your knife tool to draw a horizontal line at any point through the design shape.

For my title I went through the middle, but for the circle embellishments, I changed up the position of the cut.


3) Now that the shape is in multiple pieces, you will need to group together the top and then the bottom halves.

4) Once you have done that, you can move the bottom half down and delete one of the halves. The design you are left with is what you will cut from the Printable Foil.

5) Load the foil into your Silhouette machine and cut the design. Layer the foil pieces directly over your paper design you cut in step #1. Your shapes are now all shiny and glammed out!


Here are a few detail shots of how I achieved this look on my page:


Now, here is the fun part ! Do you want to win some Printable Gold and Silver Foil from Silhouette??? Here is how you have a chance to win:

Just follow both Silhouette (@silhouetteamerica) and me on Instagram (@nicolenowosad) and leave a comment here on the Rafflecopter widget and you are entered!


Silhouette Giveaway


Here is the order of the hop! Each blog has a different favorite thing prize you could win!!!

Nicole Nowosad

Now, here are a couple rules for the hop;

Open to US/Canada Residents, 18 and older.
Void where prohibited.
This giveaway is not associated with Facebook, Instagram, or Pinterest. Prizes will be fulfilled by Silhouette America.
Winner cannot have won another Silhouette America giveaway in the past 90 days.
Winners should expect their prize to arrive within 4-6 weeks


The giveaway will end midnight 12/5 - so leave your comment and get following !! I will post a winner on December 6, 2014 !

Pssst - I am also hosting a Jillibean Soup giveaway here:

Tuesday, November 11, 2014

Mix the Media tutorial - Jillibean Soup

I am just stopping in to share pics of a mini album I created for the summer paper show for Jillibean Soup.

I have a tutorial up on the blog today, sharing how you can use modeling paste with your Jillibean Soup mask and stencils to create a unique mini album!


If you are interested in seeing how you can use the Jillibean Soup mask and stencils to create this:


and use materials from your stash to make them into this:


Just sit back and watch this video!


Sunday, October 05, 2014

Silhouette tutorial page

Good morning!! Today, I wanted to share with you this page that I made for the Silhouette blog last week - a quick tutorial on print and cut files - without having to print them!

Here is my page:


I started off by selecting this shape in the Silhouette online store:


I used the shape to create my title and even the placement of my photo on my page:


I added lots of cut flowers - something I rarely do - embellished with stitching and lots of buttons and epoxy dots.

To check out the tutorial, head on over to the Silhouette blog HERE

Tuesday, September 09, 2014

Jillibean Soup - Selfie obsessed??

I admit that I am a little selfie obsessed. I need to find different angles, etc. for my photos, but for now, I have an ever growing stash of selfies :)

Here is my latest page, created with Jillbean Soup Cool as a Cucumber Soup - there is a brief tutorial up on the blog today for you to enjoy on how I made this page!


Although this collection is driven for the men in our lives, I love the yellow and pops of teal and orange mixed together in it!


Please make sure to stop by the Jillibean Soup blog - take a look at the tutorial and say HI while you are there ! I always look forward to reading everyone's comments and getting constructive feedback!

Have a great day!