Showing posts with label Elle's Studio. Show all posts

Saturday, October 17, 2015

Hip Kit Club September kits!

I have one last project to share using the September Hip Kits Club kits!

I used this free cut file I created for the Hip Kit Club (check out their website, register and download)


I added the pink background paper from my stash and layered it behind the cut file that was added over some white and gray cardstocks.

I trimmed down the cut apart sheet in the kit by Amy Tangerine and layered the tops of the cards along the top edge of the layout, adding some watercolour paints behind the cut out words.


I also used the leftover flowers from the cut file and added them to the center of most of the open pieces, adding some foam adhesive to the back and a small enamel dot to the centers.


I will be back next weekend with another Hip Kit Club project, using the fun fall October kits!
Have a great weekend and thanks for stopping by my blog :)


Saturday, September 19, 2015

Hip Kit Club - September kits!


hello hello!!! Just sharing a quick weekend project using the September Hip Kits!!! LOVE this month's kits - they are truly awesome and packed with NEW goodies! I love not having to wait for good stuff in the kits each month.

Here is the first page I made with the kit and the Funky Rectangles Diecut from my digital cut file store JustNick. It is one of my favorites! I cut it out with my new Artistic Edge diecut machine by Janome - so quick to cut on!!! (more on this coming )


I love the combination of the alphas in this month's kits and used a mixture of wood veneers, puffy alphas and cork - oh, man I love those cork alphas!!


The kit also comes with some fun Amy Tangerine Wood slice embellishments. I used one here and added some of the Dear Lizzy Rub ons in the kit directly to them! SO easy, although you can see I did rub a little too hard ;) Will remember that for next time.


That's all for today! Check out tons of projects daily on the Hip Kit blog!


Tuesday, August 18, 2015

July Hip Kit Club projects!

You would think having a few weeks off work would allow me extra time to do thing like planning and blogging etc... but it did not! I am back at work now and thought I should catch up on the old blog :)

I created this project for Hip Kit Club using the July kits - main and color kit to be specific! I love this color add on for July and decided to test out my not so artsy side ! lol

I stamped my cardstock base with the Heidi Swapp stamp in the color add on and then added some distress ink (also from the add on) to my ink block. I dropped a few drop of water and then "splatted" it over the stamped images. I did change up the colors with some other distress inks in my stash.


There are a lot of great alphas in each monthly kits, but this month, I love the foam thickers the best... I combined a couple together for the title on this page.


Here is how it all came together! I kind of like it :)


To check out more about Hip Kits, please stop by their site! September kits were just revealed on the 15th so shop now!


Saturday, July 11, 2015

Hip Kit Club cards!


Good morning!! Ah, it's the weekend and my official countdown to vacation :) One more week of work left and I can enjoy some relaxation time!

I am stopping in today to share some cards I made using the June Hip Kits that hit their blog this morning.  The kids always seem to have one birthday or another to head to each month, so I am trying to load up my birthday card stash.

Here are a couple quick cards I made. All three cards together took me about 1.5 hours to make. I am not a quick card maker !  

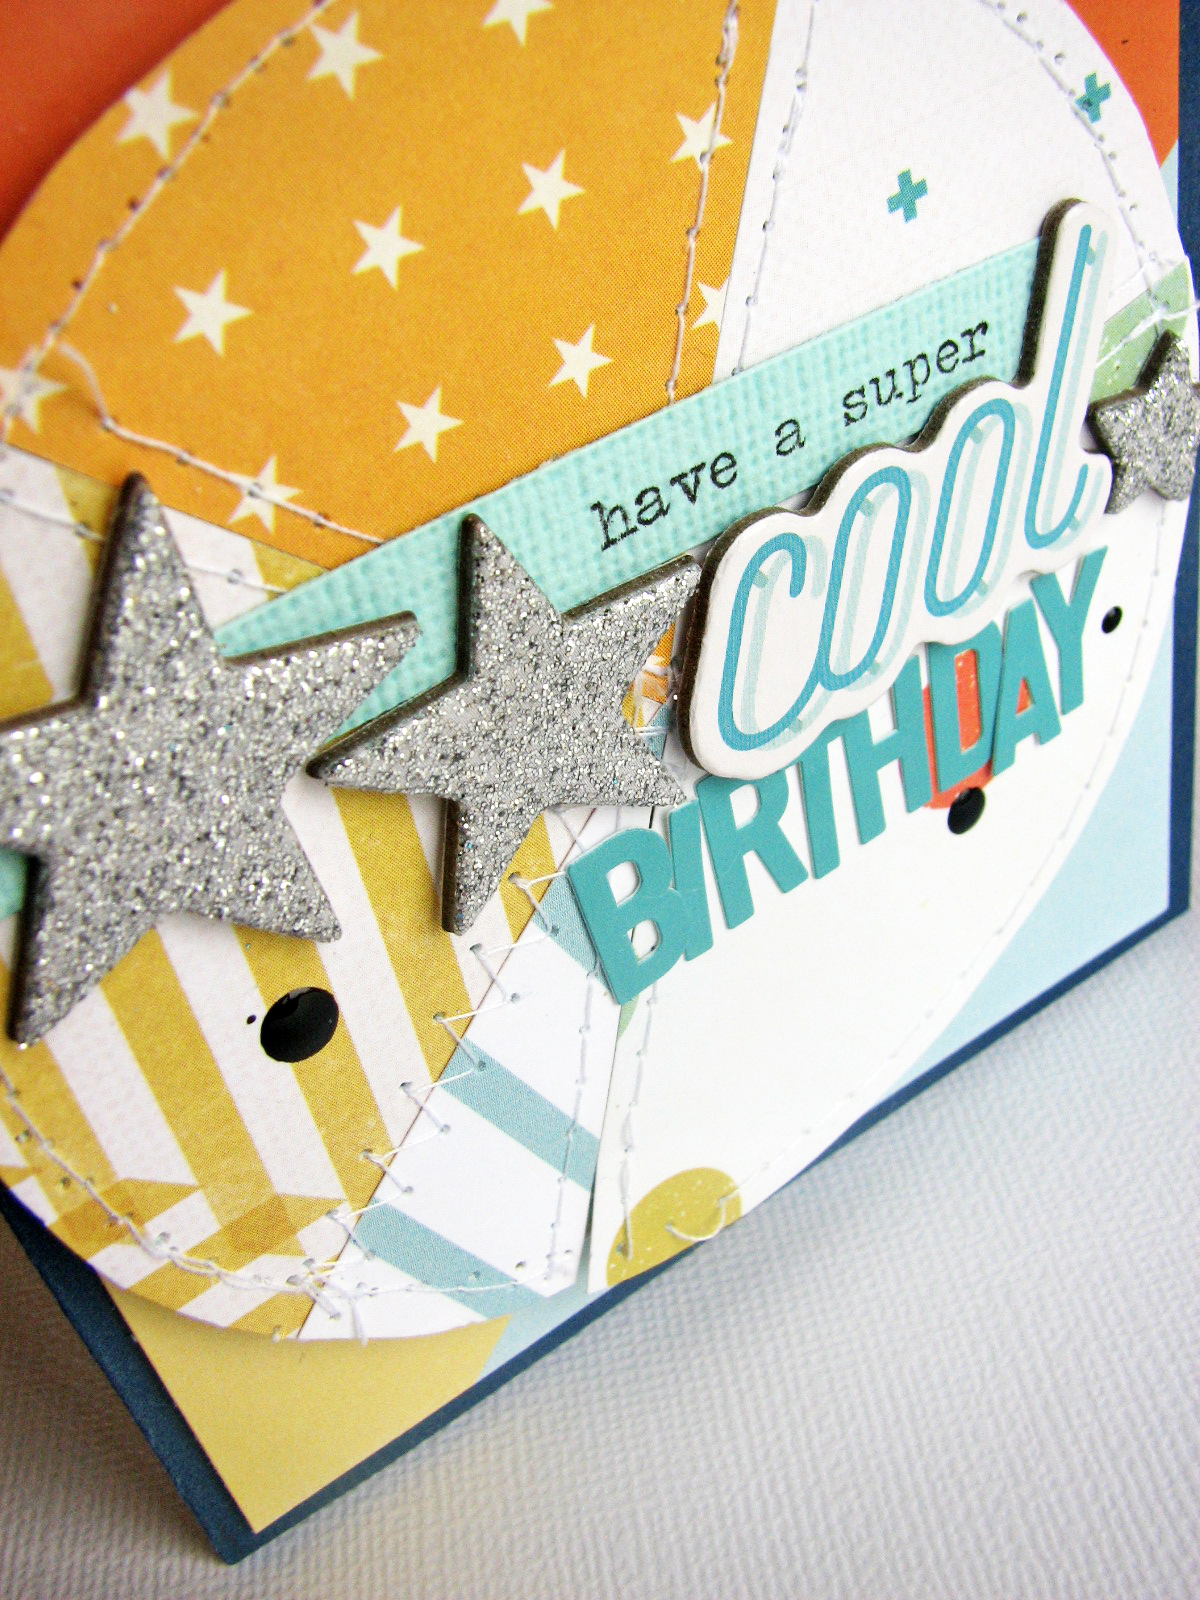
I had some scraps from a pie chart on my desk and used it to trace a pie chart from some scraps I had in my kit. I am always trying to have some more masculine cards in my stash that my boys can use, and now that they are getting older, that is a little more difficult. I thought this was one that they could use for their friends if they need. I like the Crate Paper chipboard sentiment, mixed with the Elle's Studio mini alphas in the kits!


The chipboard stars by Freckled Fawn add the right touch too. I needed a card for my middle child's 10th birthday last weekend so I created this card for him using some Pink Paislee Atlas paper and those same chipboard stars, but in blue this time.


I really love the foam Thickers and this font in the Crate Paper Poolside line is perfect for cards - it is small enough to use as a sentiment!


I wanted to use this PL card from the Pl Add-on kit as a sentiment as I thought this card could be used for a girly birthday or another happy occasion. I fussy cut out some flowers from the Fancy Pants paper in the kits that matched perfectly!


From there, all I needed to do was add a little twine and some enamel dots from my stash!  I love a simple card.


That's it for me! My July Hip Kits are on their way ... and I can't wait to get started creating with them !


Monday, July 06, 2015

Hip Kit Club June kits!

Good morning!!! Did you have a good weekend?? Our was pretty busy, but back to the routine today. The kids are out of school now here too, but that is a whole other story!


I am just stopping in to share a page I created using the June Hip Kit Club kits.


The kits for June are full of Crate Paper Poolside. I love the soft and pretty colors and thought they paired well with these summery ice cream photos of our first trip for ice cream a few weeks ago. How cute are these Crate Paper diecuts mixed with the wood enamel buttons and Freckled Fawn chipboard stars.


I really love piecing together different sizes and shapes of paper and mixed up lots of bits on this page, mostly using up my scraps from the kit ... although I did not use up much as my kits were PACKED this month! So many good things.


To find out more about the Hip Kit Club kits - just stop by their website and get the details ! Of all the kit clubs I have been involved with, I can honestly say this one is the best!

Wednesday, October 29, 2014

Cocoa Daisy - Weathervane!

Last night was reveal over at Cocoa Daisy - our November kit - Weathervane went live for subscribers! I know I say it every month... but this one is so great, you have to head over and snag it if you can! Kits go on sale Nov.1 if you are not a subscriber.


Here are the first couple pages I created with this kit and 2 of the addons (Here & There and Windchime) I made 4 layouts with the kits, and could probably do at least 5 more pages, if not more.


I love the Heidi Swapp September Skies line in the kits.. I love this bright happy green and knew I wanted to cut a large title from it right away. You can see that there are some great autumn embellies in the kit and I cut some leaves by hand, out of the silver vellum in the kit to layer behind some of the cork and metal leaves..


I also found that, although there were some great navy and green papers, there were so many fun floral and "pretty" papers in this month's kits that I created this feminine page of my daughter and her love of being in dance.


Just love those Heidi Swapp transparent and die cut shapes. They are really amazing and the clear words are just perfect for layering!


Hope you enjoyed these projects - and hope you stop by to get your kit (if you haven't already)! Please let me know what you think of my projects, I appreciate your feedback!

Tuesday, February 25, 2014

Scraptastic - Feel Again kit shares

Hello!I am checking in today to share a few pages made with the February Feel Again kit from Scraptastic Kit Club.

Each month, we are able to choose which kit we will receive and I chose Feel Again for the month of February.

I feel in love with the aqua and pink/red combo and touches of black too! Here are a couple pages I created with this kit.

First up, is this page, using tons of Elle's Studio tags and bits:


You can see I did lots of layeing on this page, I quite simply just cut bits and pieces of the papers in the kit and then went crazy adding tags all over the place, in behind my photo and layering tag on tag on tag... you get the point.


I added in some fun foam heart stickers from the packs of Thickers in the kit and add on too! They are fun and a nice change to see in the Thickers pack:


Cute stickers right! Here is my final page all put together:


There are some pretty Crate Paper Transparency frames in the kit and add-on and I tried to incorporate them on my page in a different way. I used my circle punches to punch the transparencies into circles and then layered them with different patterned papers from the kit and add-on.


You can see a little of the swirl of wet glue that I used to hold it in place, but I am okay with that! I like this different twist to using those transparency frames.

Here is my completed page:


If you haven't done so - please check out the Scraptastic BLOG for lots of inspiration and the STORE for all the details on how to be a subscriber!

Wednesday, October 30, 2013

lightning struck. i scrapped for me :)

It is sad to say that I don't often get a chance to use up some of my stash :) A few weeks ago, I went to a Crop & Create event and just got to hang with a couple good friends and scrap!!

I brought along some goodies, and then got my Crop & Create goodie bag - and didn't need much else! Well, other than some new goodies I couldn't help get from The Scrapbook Cottage that was on site!

First up, I had snagged up some fun Sn@p from Simple Stories and created this page using the 3x4 cards since I am not a PL'er:


Next up, I created this page using a bit of my Elle's Studio stash I have been hoarding:


Ok. I have a couple more pages to share using up some of my Crop & Create goodie bag... but I will leave that for another post! Stay tuned :)


Thursday, June 27, 2013

June Scraptastic kit!

I was super excited to get my June Scraptastic kit in the mail last week - just in time for the weekend!

I got straight to work on this project here, that hit the blog on Monday.

This month's theme is Triangles so I got straight to work on cutting a ton of triangles to create this background.


The papers in this kit are fun and very masculine and work well to create this hip, youthful background for the layout. I added in more triangle embellishments in the form of stickers and pieces of the Basic Grey banner in the kit:

 Please check out the Scraptastic blog regularly as it is always full of great inspiration from the Scraptastic DT!

Saturday, June 15, 2013

Scrapbook & Cards Color Suite!

Each month on the Scrapbook & Cards Today blog, Summer Fullerton posts a Color Suite challenge!

When Summer asked me to play along with this month's challenge, I happily accepted. Color challenges are one of my favorites :)

Summer sent along an inspiration piece to use with this color suite - I used the strips and unique chevron for my page. I started my page by cutting patterned papers with each of the colors from the Color Suite and then layered a little over top with some different elements.

I used the chevrons I cut with my Silhouette Cameo, some stickers, buttons and even some punched butterflies from some patterned paper

I layered lots of papers in my main photo grouping, with more tones of the colors in the challenge in various papers, tags and stickers:

I cut my title with my Cameo, using some Dear Lizzy patterned paper and a neutral metal gray
 POW glitter paper in a different font.


To see this month's Color Suite, Summer's and my completed page -- and to play along - check out the Scrapbook & Cards Today BLOG!

Tuesday, May 14, 2013

Playing along at Studio Calico this week!

I was asked to create a layout using one of the Studio Calico sketches posted this weekend and here was my result:


I chose to use one side of the 2 page sketch - I was drawn to the grid format and once that was done -
I went on my own from there. I used lots of my new Elle's Studio goodies I received last week, along with a lot of Studio Calico wood veneers.

The best part of this page is the quiet moment that was captured in the photo - this is VERY rare in my household!

Hope you will check out the sketches and play along this week too :)

Saturday, March 30, 2013


This month over at Scraptastic Kit club, we have been trying to use our punches on our kit projects - I love my punch stash. My favourite go to punches are circles or any size !!

I am fond of circles - but wanted to jazz them up a bit, so I decided to create some quick tiny pie charts with my punched circles!

Here is my page:


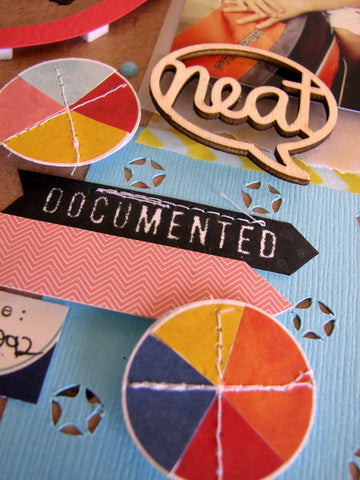
You can see that I punched some circles from the Glitz Design paper - then I went ahead by stacking the different coloured circles on top of each other and clipped them all at once. This creates "pies" of the same size. I added them onto the same sized circle out of white cardstock and then just layered my "pies" back together, alternating the colours on each pie shape.

Once I was done, I added some messy stitching to them. Here is a close up:


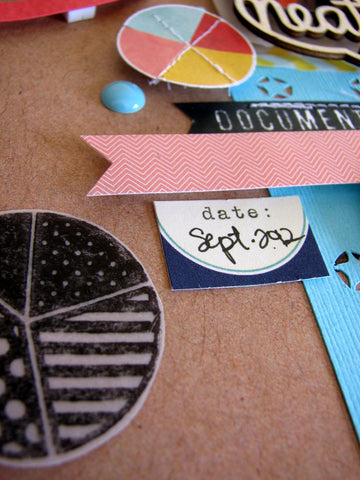
Then, I pulled out my Scraptastic Exclusive Mr. Brightside stamps and stamped some pie chart shapes onto scraps of vellum I had (with Staz On ink) and punched those out too... and added them to my page!


Cute right! I just love that pie chart stamp!!!

Hope you are inspired to make some use from your punches and get a little creative with basic shapes :)